Serving Hamilton County & Surrounding Areas
How to Detect and Fix Water Leaks
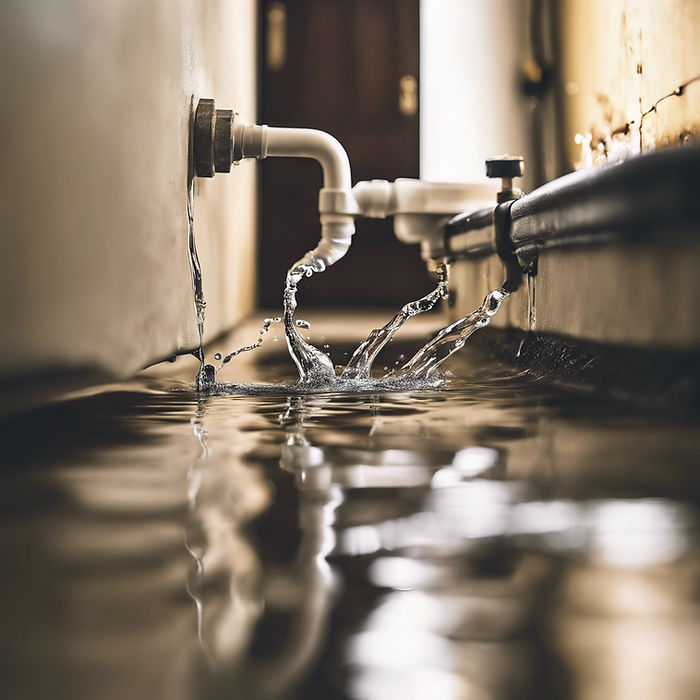
Water leaks in your home can lead to significant damage if not detected and repaired promptly. Leaks not only waste water and increase your utility bills, but they can also cause structural damage, promote mold growth, and reduce the overall integrity of your home. Learning how to detect and fix water leaks early can save you from these potential issues. In this blog, we’ll guide you through the steps to identify and repair common water leaks in your home.

1. Recognizing the Signs of a Water Leak
Before you can fix a water leak, you need to know what to look for. Here are some common signs that you might have a leak in your home:
• Unexplained Increase in Water Bills: A sudden spike in your water bill without a corresponding increase in water usage could indicate a leak.
• Water Stains: Brown or yellow stains on walls, ceilings, or floors are often signs of water leaks behind the surface.
• Damp or Musty Odors: Persistent damp smells or musty odors in certain areas of your home can signal hidden leaks.
• Mold or Mildew: Mold and mildew thrive in moist environments. If you notice mold growing in areas where it shouldn’t, such as under sinks or on walls, it could be due to a leak.
• Wet Spots or Puddles: Finding unexplained wet spots or puddles inside your home is a clear indication that water is leaking somewhere.
• Low Water Pressure: If you notice a drop in water pressure when using faucets or showers, it might be due to a leak in the plumbing system.
2. How to Detect Water Leaks
Once you suspect a leak, it’s time to pinpoint its location. Here are some methods to detect water leaks in your home:
• Check Your Water Meter: One of the easiest ways to check for leaks is by monitoring your water meter. Turn off all water-using appliances and faucets in your home, then check the water meter. If the meter continues to move, you likely have a leak.
• Inspect Visible Plumbing: Look under sinks, around toilets, and near appliances like dishwashers and washing machines for any signs of leaks. Check for moisture, corrosion, or puddles around plumbing fixtures.
• Listen for Dripping or Running Water: In quiet moments, listen for the sound of water dripping or running when all fixtures are turned off. This can help you identify leaks inside walls or floors.
• Use Food Coloring: To check for toilet leaks, add a few drops of food coloring to the tank. Wait for about 30 minutes without flushing. If the color appears in the toilet bowl, there’s a leak in the flapper or other components.
• Look for Cracks and Gaps: Examine your home’s foundation, walls, and floors for cracks or gaps that might allow water to seep through. These can indicate leaks from plumbing lines or external sources.
3. How to Fix Water Leaks
After identifying the location of a leak, you can proceed with the appropriate repair. Here’s how to fix some common types of water leaks:
• Fixing Leaky Faucets: A dripping faucet is often caused by a worn-out washer or seal. Turn off the water supply to the faucet, disassemble the handle, and replace the damaged washer or O-ring. Reassemble the faucet and turn the water back on to check if the leak is resolved.
• Repairing Pipe Leaks: If you find a leak in a pipe, start by turning off the main water supply. For small leaks, you can use a pipe clamp or epoxy putty as a temporary fix. However, it’s best to replace the damaged section of the pipe for a permanent solution. You may need a professional plumber for larger or more complex pipe repairs.
• Sealing Toilet Leaks: If your toilet is leaking, the most common culprit is a faulty flapper. Turn off the water supply to the toilet, drain the tank, and replace the flapper with a new one. If the leak persists, you may need to replace other components, such as the fill valve or flush valve.
• Fixing Leaks in Appliances: Leaks from dishwashers, washing machines, or refrigerators are often due to loose connections or damaged hoses. Inspect the hoses and connections, tighten any loose fittings, and replace damaged hoses as necessary. Ensure that the appliances are level to prevent future leaks.
• Addressing Hidden Leaks: Hidden leaks within walls or floors are more challenging to fix. After detecting the general area of the leak, you may need to cut into the drywall or flooring to access the damaged pipe. It’s advisable to contact a professional plumber for these types of repairs to avoid further damage.
4. Preventing Future Water Leaks
Once you’ve repaired the leak, it’s essential to take steps to prevent future leaks from occurring:
• Regular Inspections: Periodically inspect your home’s plumbing system for signs of wear and tear. Early detection can prevent small issues from becoming significant problems.
• Install Water Leak Detectors: Consider installing water leak detectors in high-risk areas, such as near water heaters, washing machines, and under sinks. These devices can alert you to leaks before they cause extensive damage.
• Upgrade Aging Plumbing: If your home has old or outdated plumbing, consider upgrading to modern, more durable materials. This proactive approach can help prevent leaks and improve the overall efficiency of your plumbing system.
• Insulate Pipes: Insulating your pipes can help prevent freezing and bursting in cold weather, reducing the risk of leaks.
Conclusion
Water leaks can cause significant damage to your home, but with the right knowledge and tools, you can detect and fix leaks before they escalate. Regular maintenance, early detection, and prompt repairs are key to keeping your home’s plumbing system in good working order. If you’re dealing with a stubborn leak or need professional assistance, Advocate Plumbing is here to help. Our experienced team can quickly identify and repair leaks, ensuring your home stays safe and dry. Don’t wait until a small leak becomes a big problem—contact us today!
Recent Posts
Why Hiring a Licensed Plumber Matters for Your Home’s Safety and Efficiency
Why Your Sump Pump Needs Regular Maintenance and How to Do It
How to Choose the Right Water Heater for Your Home
Preventive Plumbing Inspection Guide Every Homeowner Should Follow

Reverse Osmosis vs. Water Softener: Which Is Right for Your Home?
Seasonal Plumbing Maintenance Checklist for Hamilton County Residences
Why Is My Water Heater Beeping?
Get in Touch
