A leaky faucet may seem like a small annoyance, but it can waste a surprising amount of water over time—not to mention drive up your utility bill. Luckily, fixing a leaky faucet is usually a simple DIY task that most homeowners can handle. In this friendly guide, we’ll walk you through how to fix a leaky faucet step by step, so you can stop the drip and save water in the process.
What Causes a Leaky Faucet?
Faucets typically start leaking when the internal components—like washers, O-rings, or seals—wear out over time. These small parts are responsible for creating a watertight seal, and once they degrade, water can slip through, causing that annoying drip.
The good news? Replacing these parts is easy and inexpensive. Let’s get started!
Tools You’ll Need:
• Adjustable wrench
• Screwdriver (flathead or Phillips, depending on your faucet)
• Replacement parts (washers, O-rings, or faucet cartridge, depending on the type of faucet)
• Plumber’s tape (optional)
• Bucket or towel (to catch water)
Step-by-Step Guide to Fixing a Leaky Faucet
1. Turn Off the Water Supply
Before you start any plumbing repair, it’s important to turn off the water supply to prevent water from gushing out when you disassemble the faucet. Locate the shutoff valves under the sink and turn them clockwise to close.
• Tip: If your faucet doesn’t have individual shutoff valves, you may need to turn off the main water supply to your home.
2. Plug the Drain
You don’t want any small screws or parts falling down the drain while you’re working. Place a sink stopper or cover the drain with a towel to prevent this.
3. Take Apart the Faucet
Faucets come in several styles—compression, ball, cartridge, and ceramic disk. The process for fixing a leaky faucet varies slightly depending on the type, but here are the general steps:
• Remove the Handle: Use a screwdriver to remove the handle of the faucet. You may need to pry off a decorative cap to access the screw.
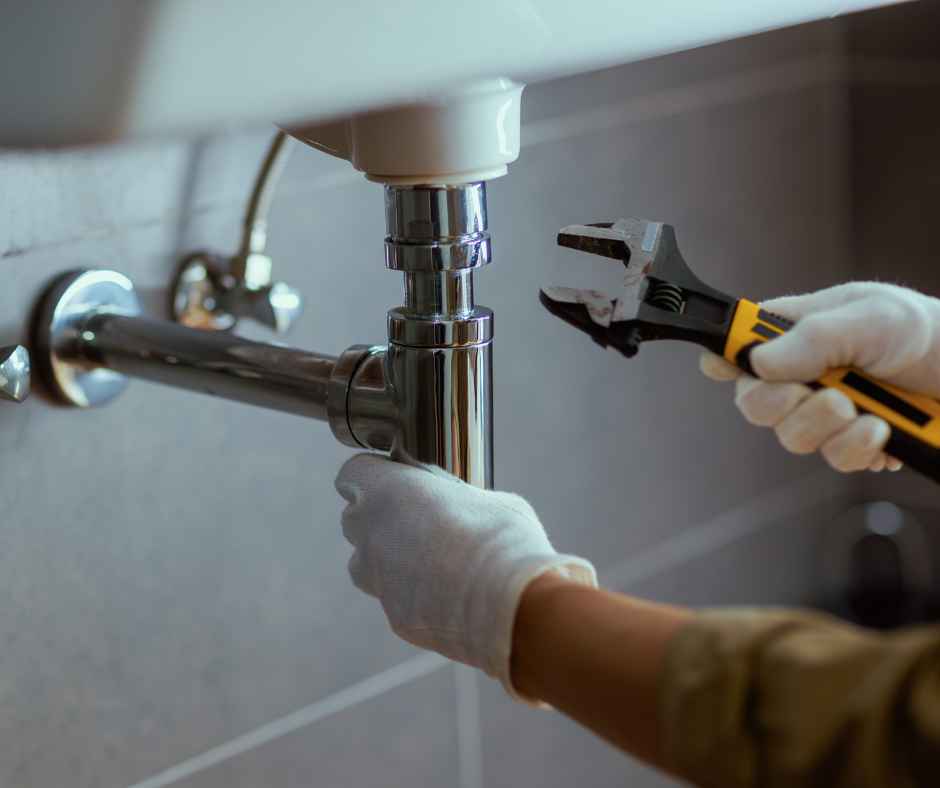
• Disassemble the Faucet: After removing the handle, you’ll see more parts of the faucet that need to be disassembled. Use an adjustable wrench to carefully remove the packing nut or other components.
4. Inspect and Replace Worn Parts
Once you’ve disassembled the faucet, you can check for worn or damaged parts. Depending on the type of faucet, the culprit might be a rubber washer, O-ring, or the entire cartridge.
• Compression Faucets: These faucets often leak because of a worn-out rubber washer at the bottom of the valve stem. Replace the washer and reassemble the faucet.
• Cartridge Faucets: If you have a cartridge faucet, replace the cartridge if it’s damaged or worn.
• Ball Faucets: For ball-type faucets, the seals and springs inside may need to be replaced.
• Ceramic Disk Faucets: If you have a ceramic disk faucet, check the seals and O-rings and replace them if they’re worn.
5. Reassemble the Faucet
After replacing the necessary parts, it’s time to put everything back together. Make sure each piece is properly aligned and tightened, but avoid over-tightening to prevent damage.
• Tip: If you’re replacing O-rings or washers, consider applying a bit of plumber’s tape to the threads for an extra watertight seal.
6. Turn the Water Supply Back On
Once the faucet is reassembled, turn the water supply back on by opening the shutoff valves. Slowly open the faucet to check for any leaks and ensure everything is working smoothly.
7. Test the Faucet
After completing the repair, turn on the faucet to make sure the leak is gone. If the drip has stopped, congratulations—you’ve successfully fixed your leaky faucet!
When to Call a Professional
While most leaky faucets can be easily repaired with a little DIY effort, some issues may require professional attention. If you’ve followed the steps and the faucet is still leaking, or if you’re unsure about disassembling the faucet, don’t hesitate to call a plumber.
At Advocate Plumbing, we’re here to help with all your plumbing needs—big or small. Whether you need assistance fixing a leaky faucet or have a more complex plumbing issue, our experienced team is just a phone call away. So contact us today and get started!
Comentarios